Assembly Instructions
Find a clean workspace
- A plain table works great
- Source a small blade or X-acto knife
Place charcoal foam
- Put the adhesive side facing towards the ceiling
Remove adhesive backing
- Use your blade to lift the white protective paper covering
- Avoid touching the adhesive directly
- Don't remove the adhesive from the tool outline drops
- There are small preforations between the foam drops and your insert, you can precut the white liner, or just tear it at the boundary
- Typically takes less than 5 minutes per insert
Place bottom foam
- Make sure all 4 corners line up correctly
- Do not apply any pressure
- If not, gently lift and reposition
Apply Pressure
- Place 5-10 lbs of force with your hands over the entire insert area
- A solid roller can be used instead, if available
- Pressure activates the adhesives, it takes 24 hours achieve full strength
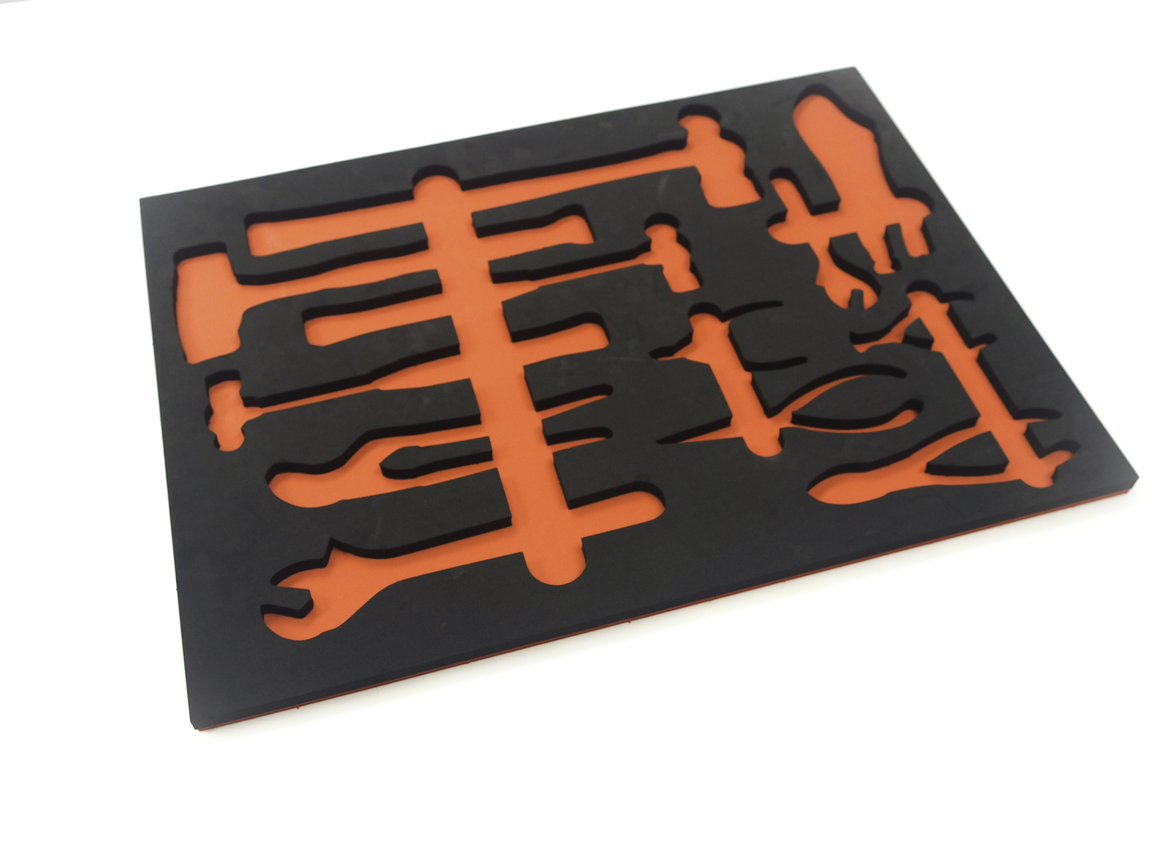
Remove Drops
- The foam centers are left to protect against shipping damage
- They are held in by a small slice of material, it plucks out.
You're done.
- Install the Shadowbox insert in your drawer
- Add your tools
- Enjoy your newfound productivity and organization